Animation Panel
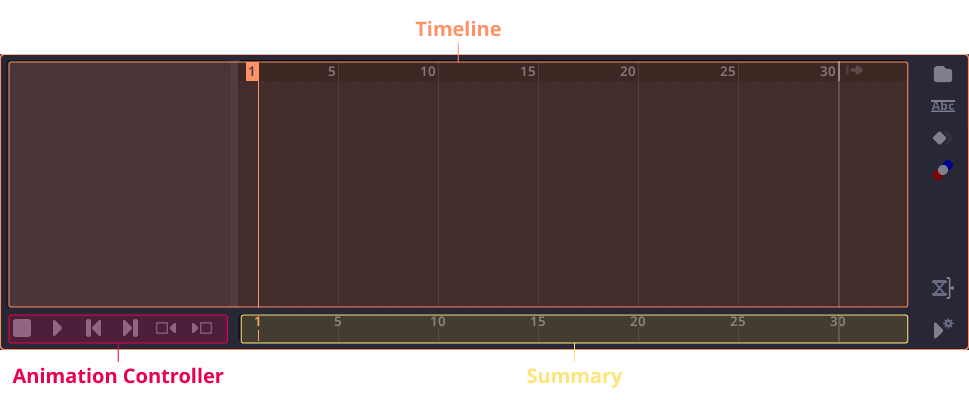
Located at the bottom of the window. Animation panel contains all the animation timelines and keyframes, as well as the animation controller and the animation settings.
Timeline
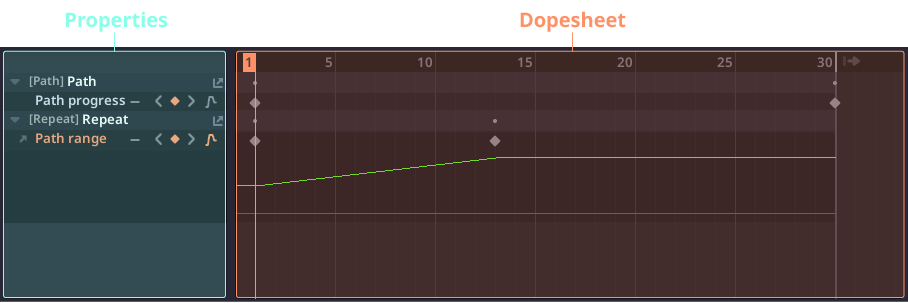
Timeline area contains all animating properties. The area is divided into two part, the properties on the left and the dopesheet on the right. The properties area display list of all animating properties, and the dopesheet display all the keyframes.
Navigation
Navigating the timeline area is based on your mouse position:
- While you mouse is on the properties area,
- Scrolling mouse wheel will move the view vertically.
- While you mouse is on the dopesheet area,
- Scrolling mouse wheel will zoom the view horizontally.
- Click and hold middle mouse to move the dopesheet area horizontally and vertically.
Timeline Management
Properties in the timeline can be rearrange, recolor and grouped.
| Rearrange | Left click and drag |
| Change color | Right click on the node label |
| Create folder | Right click and select "New folder" |
Animaing Properties
To animate a properties. Click on the clock icon  in the inspector. Animating properties will show up on the
timeline. Click on the clock icon again to disable animation. Deleting all keyframes will also disable animation.
Keyframes

Keyframe represent a single value of a properties. Putting multiple keyframes in the timelime will animated the value. Keyframes can be added, removed, and edited in the dopesheet.
Changing the value of the animated properties will create a keyframe at the current time.
Keyframe Interpolation
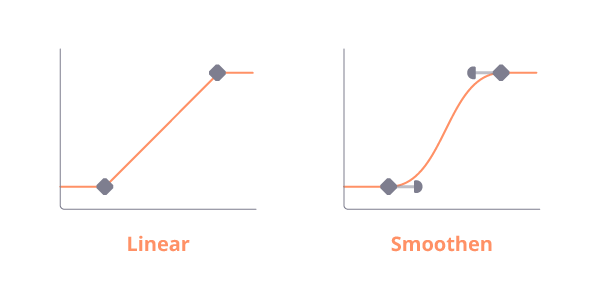
By default, keyframe interpolation is done linearly. To change the interpolation type. You can double click and drag on the keyframe. This will create the smoothness slider, the longer the slider, the smoother the interpolation will be.
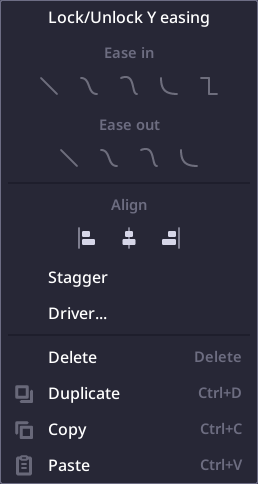
You can also right click on the keyframe to change the interpolation type. Apart from the linear and smooth, there's also a "hold" type which will disable interpolation altogether and change the value instantly.
Curve view

To see how the value interpolate in a clearer fashion, you can toggle curve view on with the curve icon.
Driver
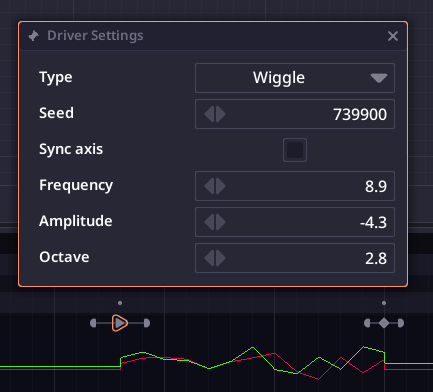
You can apply modification to the animation by adding driver. Right click on the keyframe select "Driver..." then select the driver you want.
Keyframe Stagger
You can stagger multiple keyframes by selecting all the keyframes you want, right click and select "Stagger":
- First, left click on the keyframe you want to be the stagger base.
- Move your mouse left or right to adjust the stagger amount.
- Left click again to apply.
Animation Controller
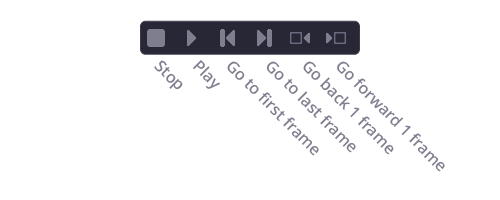
Animation controller is located at the bottom left of the panel.
Stop Stop the animation and reset the cursor.
Play/Pause button Play or pause the animation.
Go to first/last frame Move frame cursor to the first or last frame in the working range (or entire timeline if no working range is set).
Previous/next frame Move frame cursor by 1.
Frame stretching
On top of the dopesheet you can see the frame index. At the right most is the button to adjust the animation
length  .
.
- Left click and drag to adjust the animation length.
- Ctrl + left click to stretch the animation, adjust the animation length and scale all the keyframes accordingly.
Animation Settings
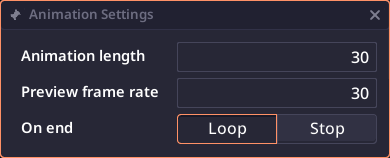
At the bottom right is a button to open the animation settings dialog. There you can adjust animation and playback properties.
Animation Scalers

On top of the animation settings is animation scalers, which allow you to change the animation length and scale all the keyframes.
Working range

Working range is a range of frame that will be active when playback and export. This can be different from the animation range.
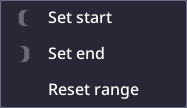
To set the working range, right click on the animation summary and select "Set Start/End".